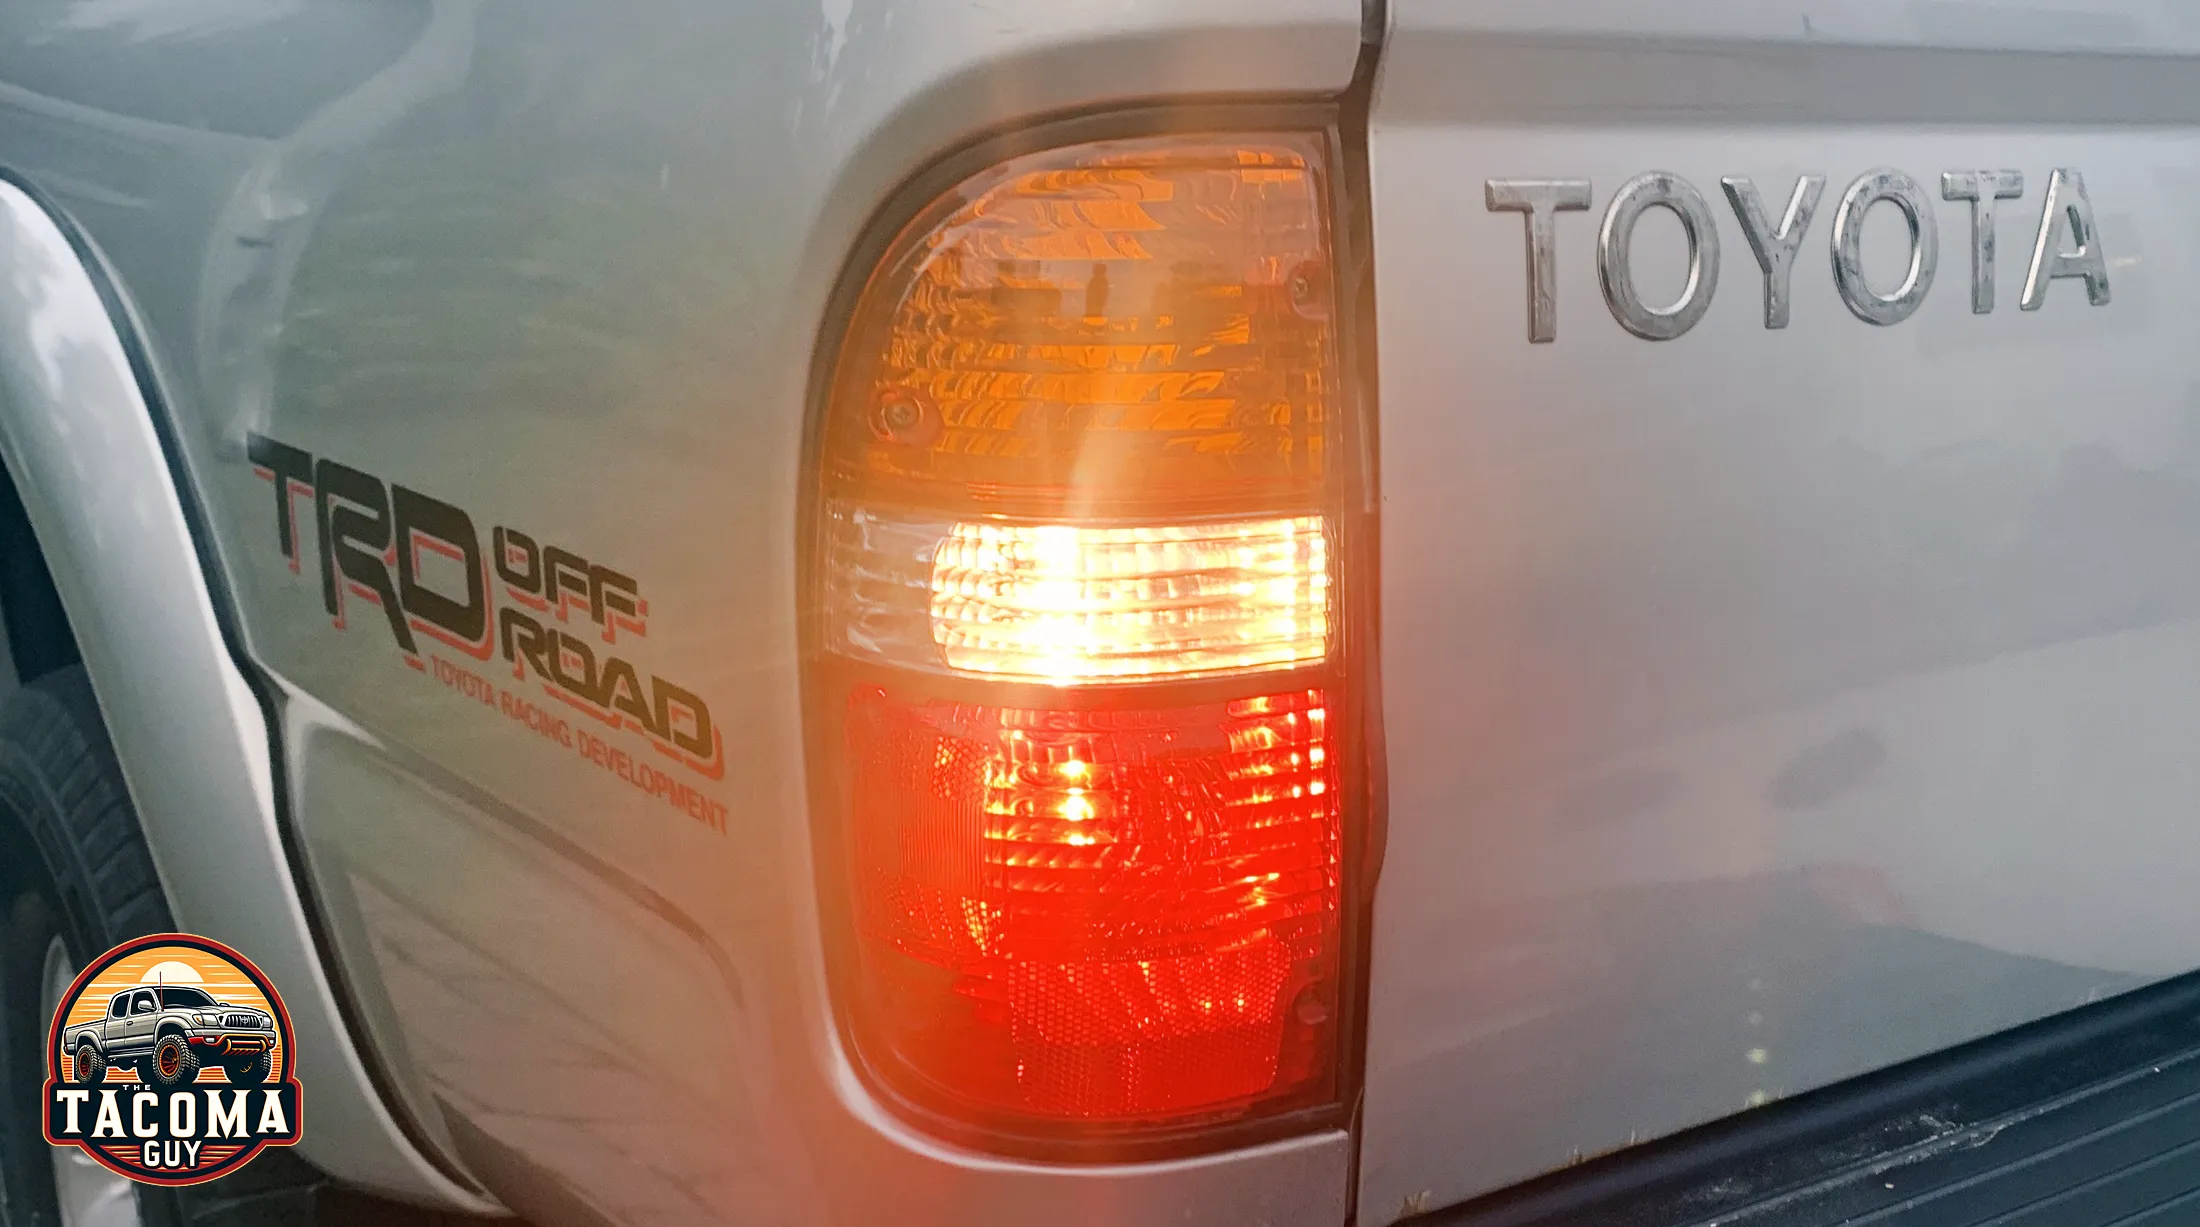
The white backup lights on the Gen 1 Tacomas leave a lot to be desired in terms of brightness compared to todays LED backup lights. There’s a few ways to improve the lights; you can replace the entire rear lights with newer LED models, you could add some LED pods to the back on the bumper, or you can replace the bulb inside the existing light fixture.
Of all of these options, the last is the easiest and least expensive. It’s a $20 investment and about 20 minutes of your time to try. Will it be bright enough for you? That’s up to you but it will certainly increase the output.
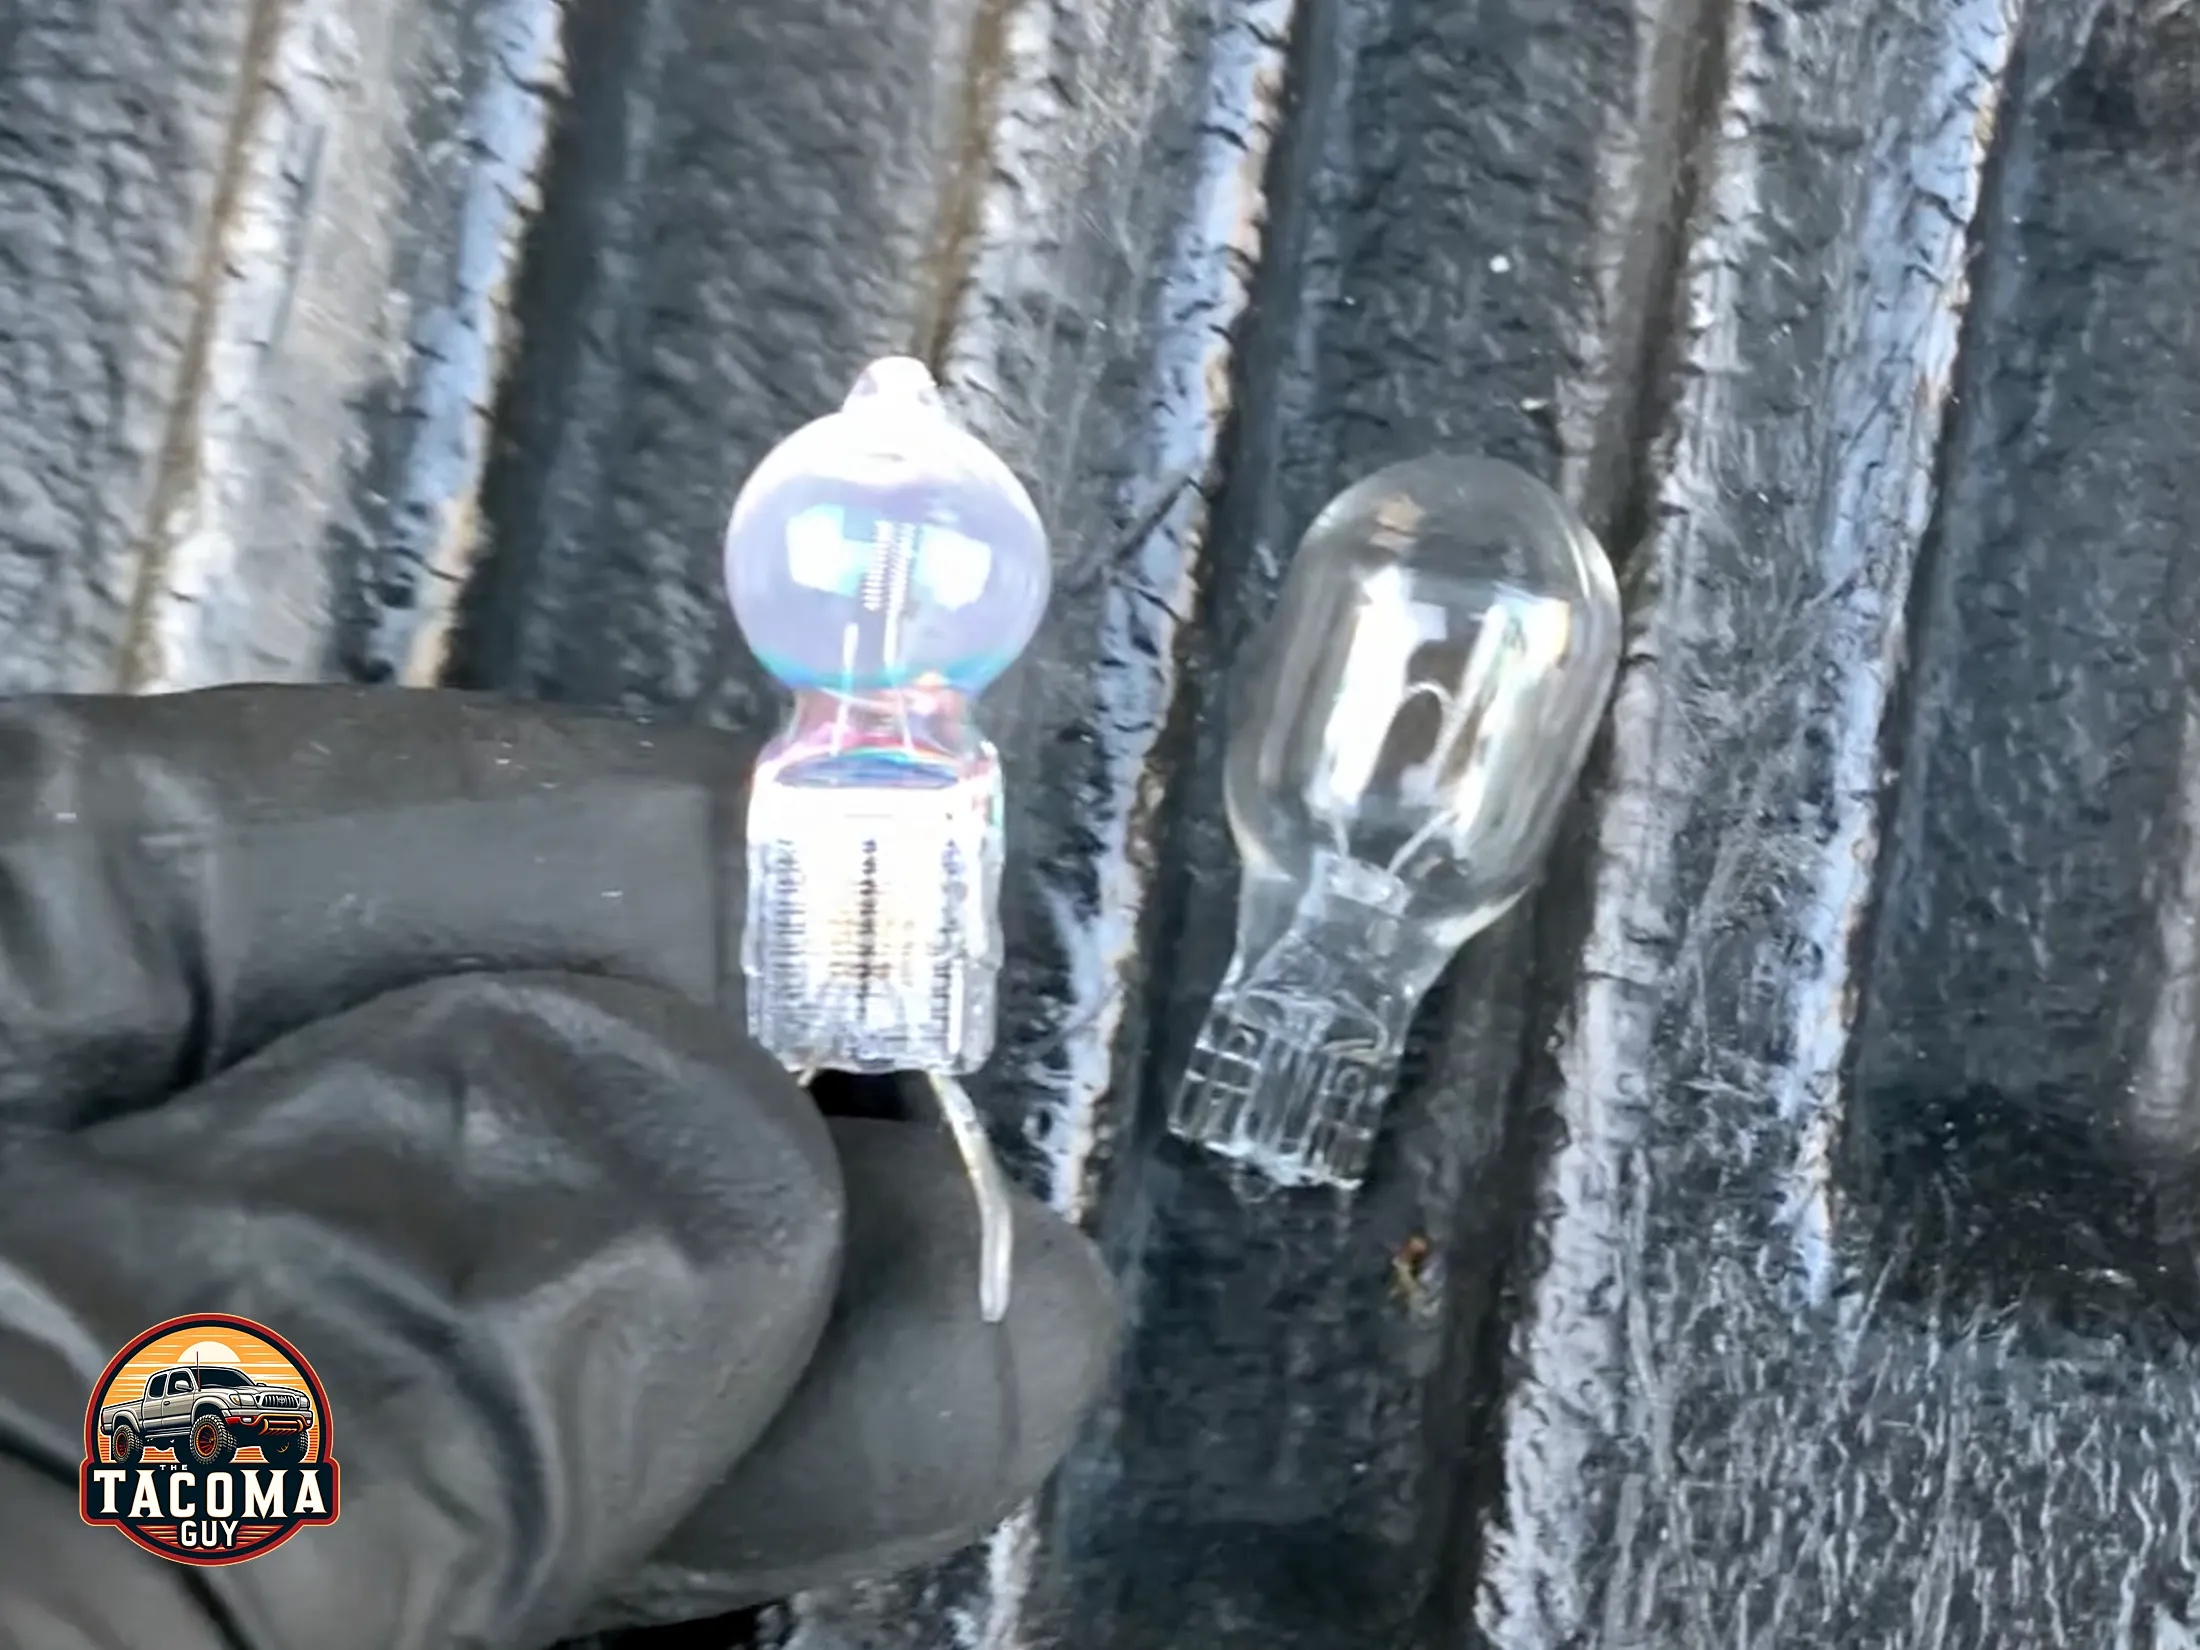
So what do you need to do? We’re just going to replace the existing bulb with a halogen bulb from Osram called the Northstar AV 69378 Bare Lamp. It’s not a direct replacement for the OEM Tacoma bulbs, so you will have to make some very simple modifications to the connector pins to get it to fit, but it is worth it – the output these little lights produce is quite impressive.
Affiliate notice: The Tacoma Guy is an Amazon and eBay Affiliate. That means we get a small percentage from them if you use the links to purchase the product. It doesn’t increase your cost! If you found this tutorial helpful, please consider using these links to help support this mom & pop business, thank you! Learn more.
Tools Required:
- Needle Nose Pliers: for bending the contact prongs
- Pliers: To hold the bottom of the prong while bending around the needle nose
- Screwdriver: Phillips head, to remove the 4 screws from the taillight
- Gloves: Don’t touch the bulb with your fingers, you will add oils to the bulb which will make it burn out quicker.
Parts Required:
- Osram Northstar AV 69378 Bare Lamp Replacement: you’ll need two.
- Color Temperature: 2,900K
- Average Lifetime: 4000 hours
- Lumens (light output): 765
- CRI: 100
Video Walk-Through:
Check out our step-by-step video tutorial first to get an idea of the process, then you can read the guide below and print it out if you want.
Step-by-Step Guide:
Descriptive pictures below this guide!
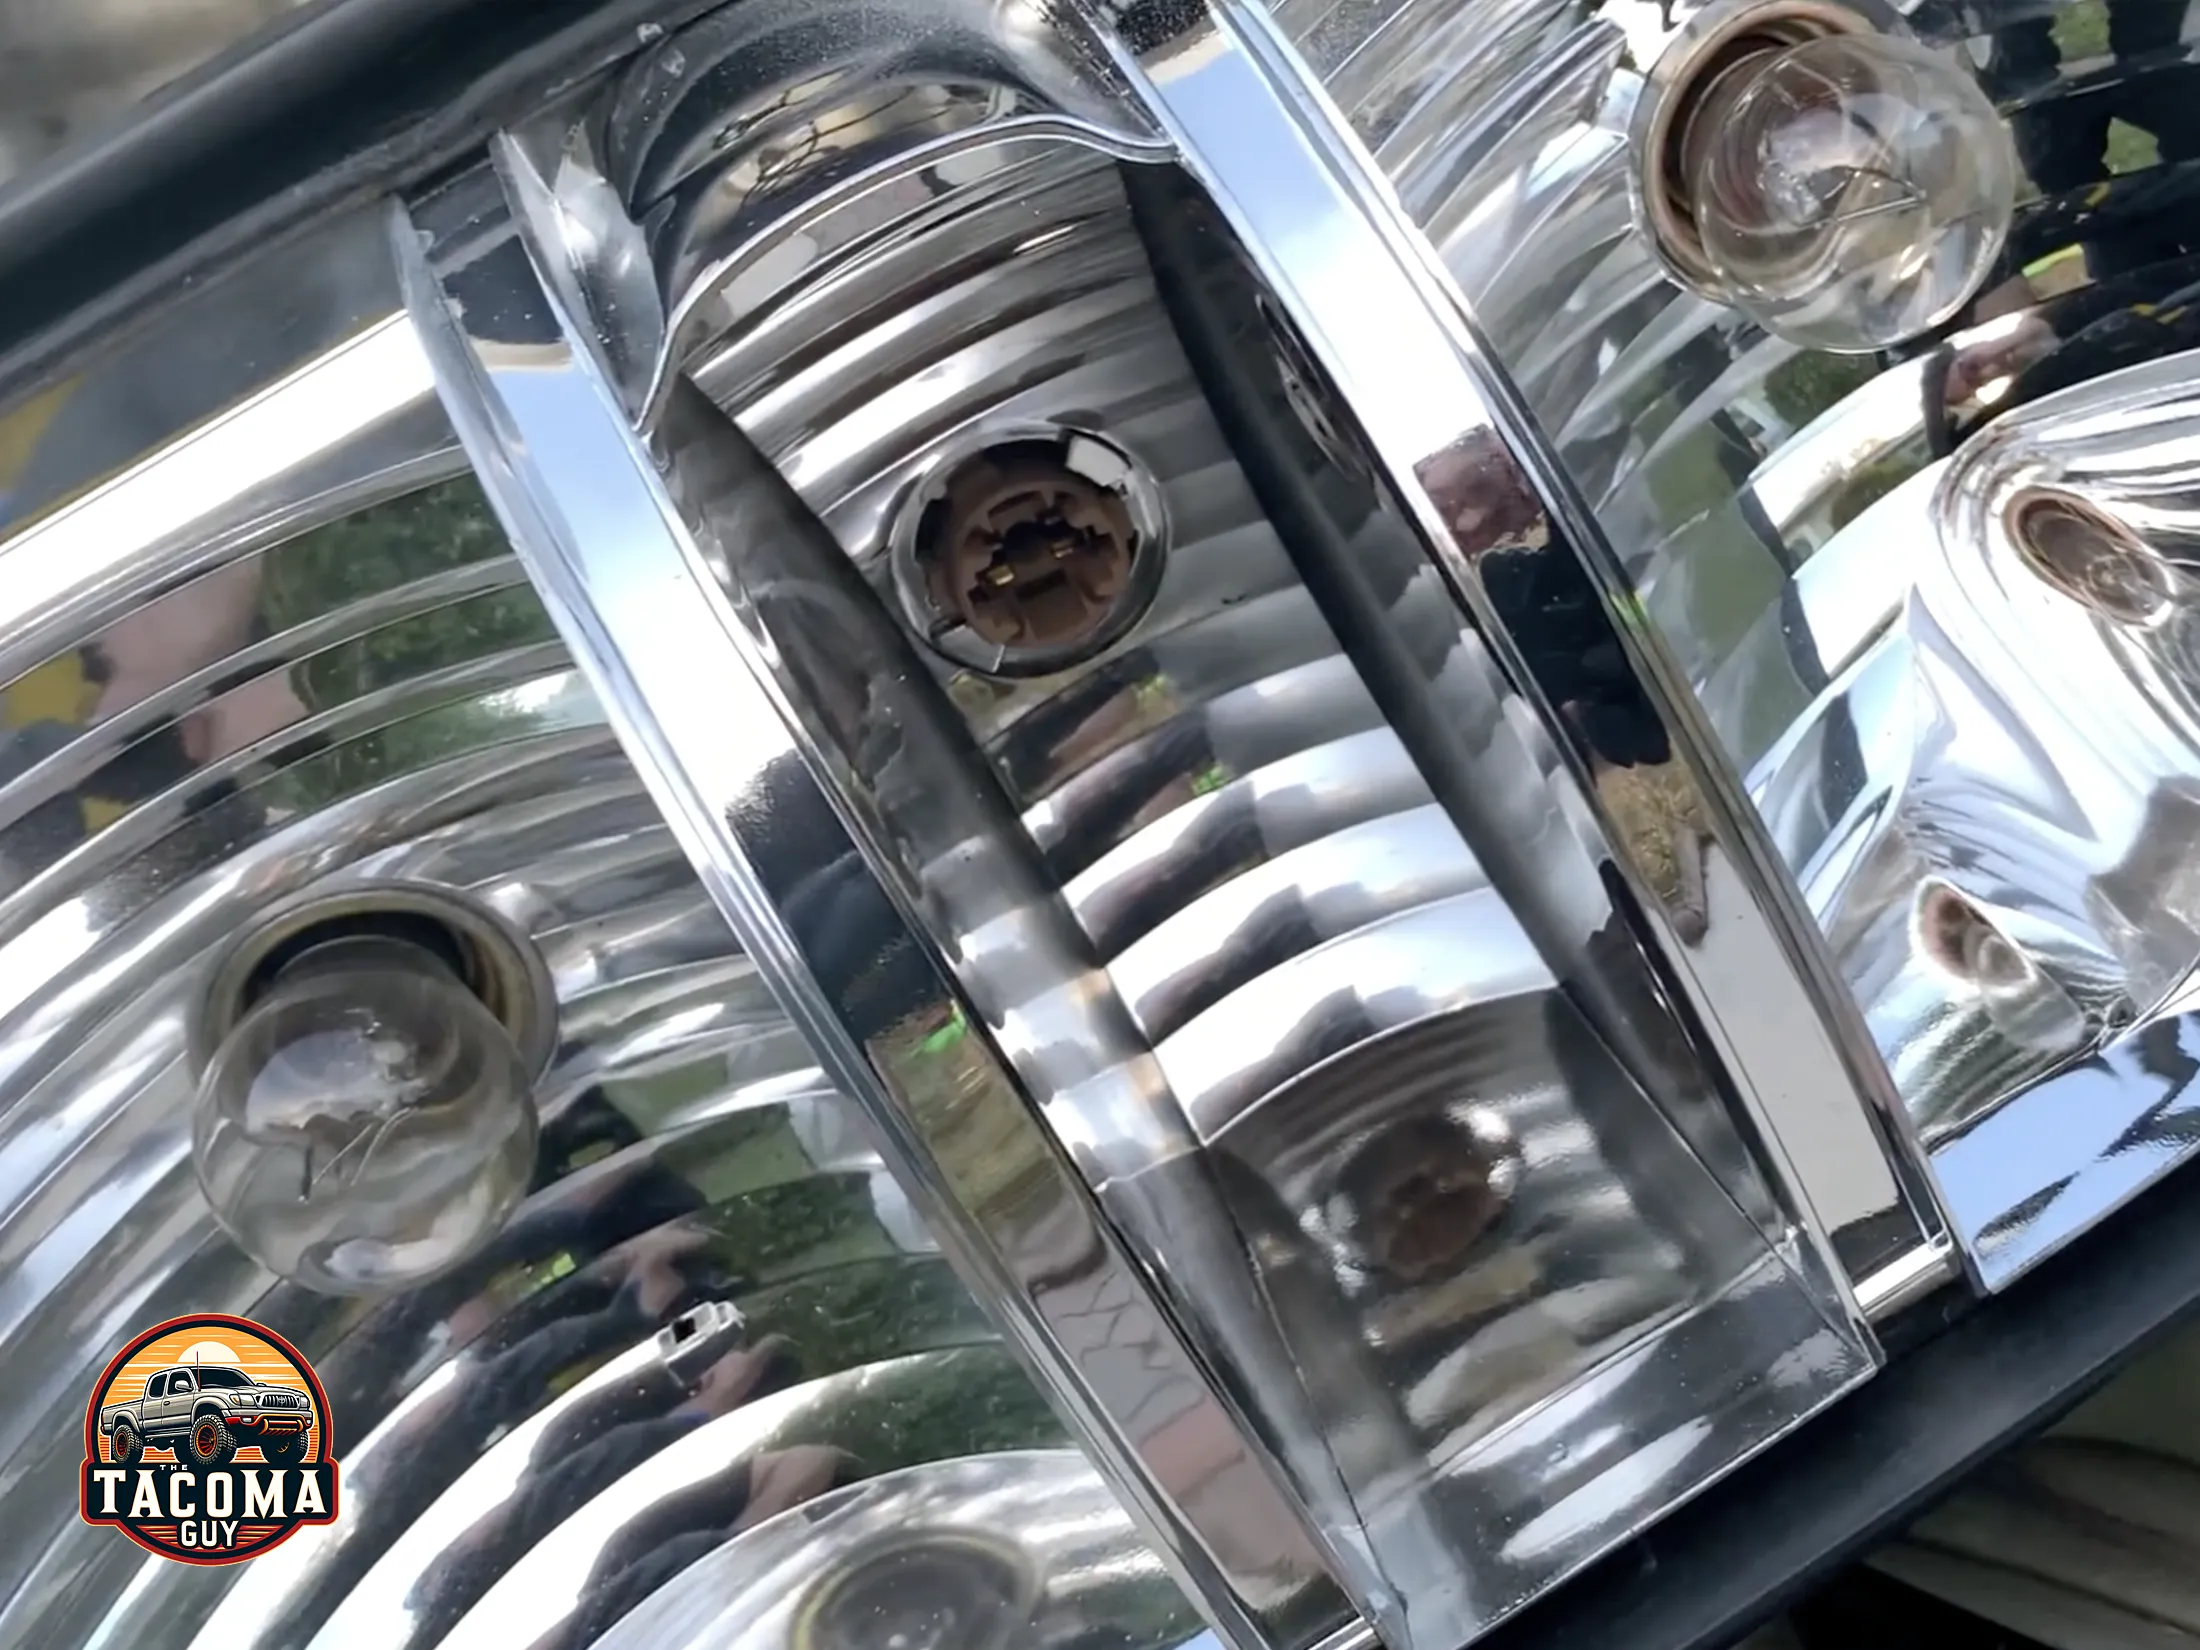
- Remove the tail light by taking the 4 screws holding it on off. Put aside in a safe place. The two longer screws are for the outside part of the light, the 2 smaller go towards the inside of the truck.
- Remove the old bulb by pulling straight out.
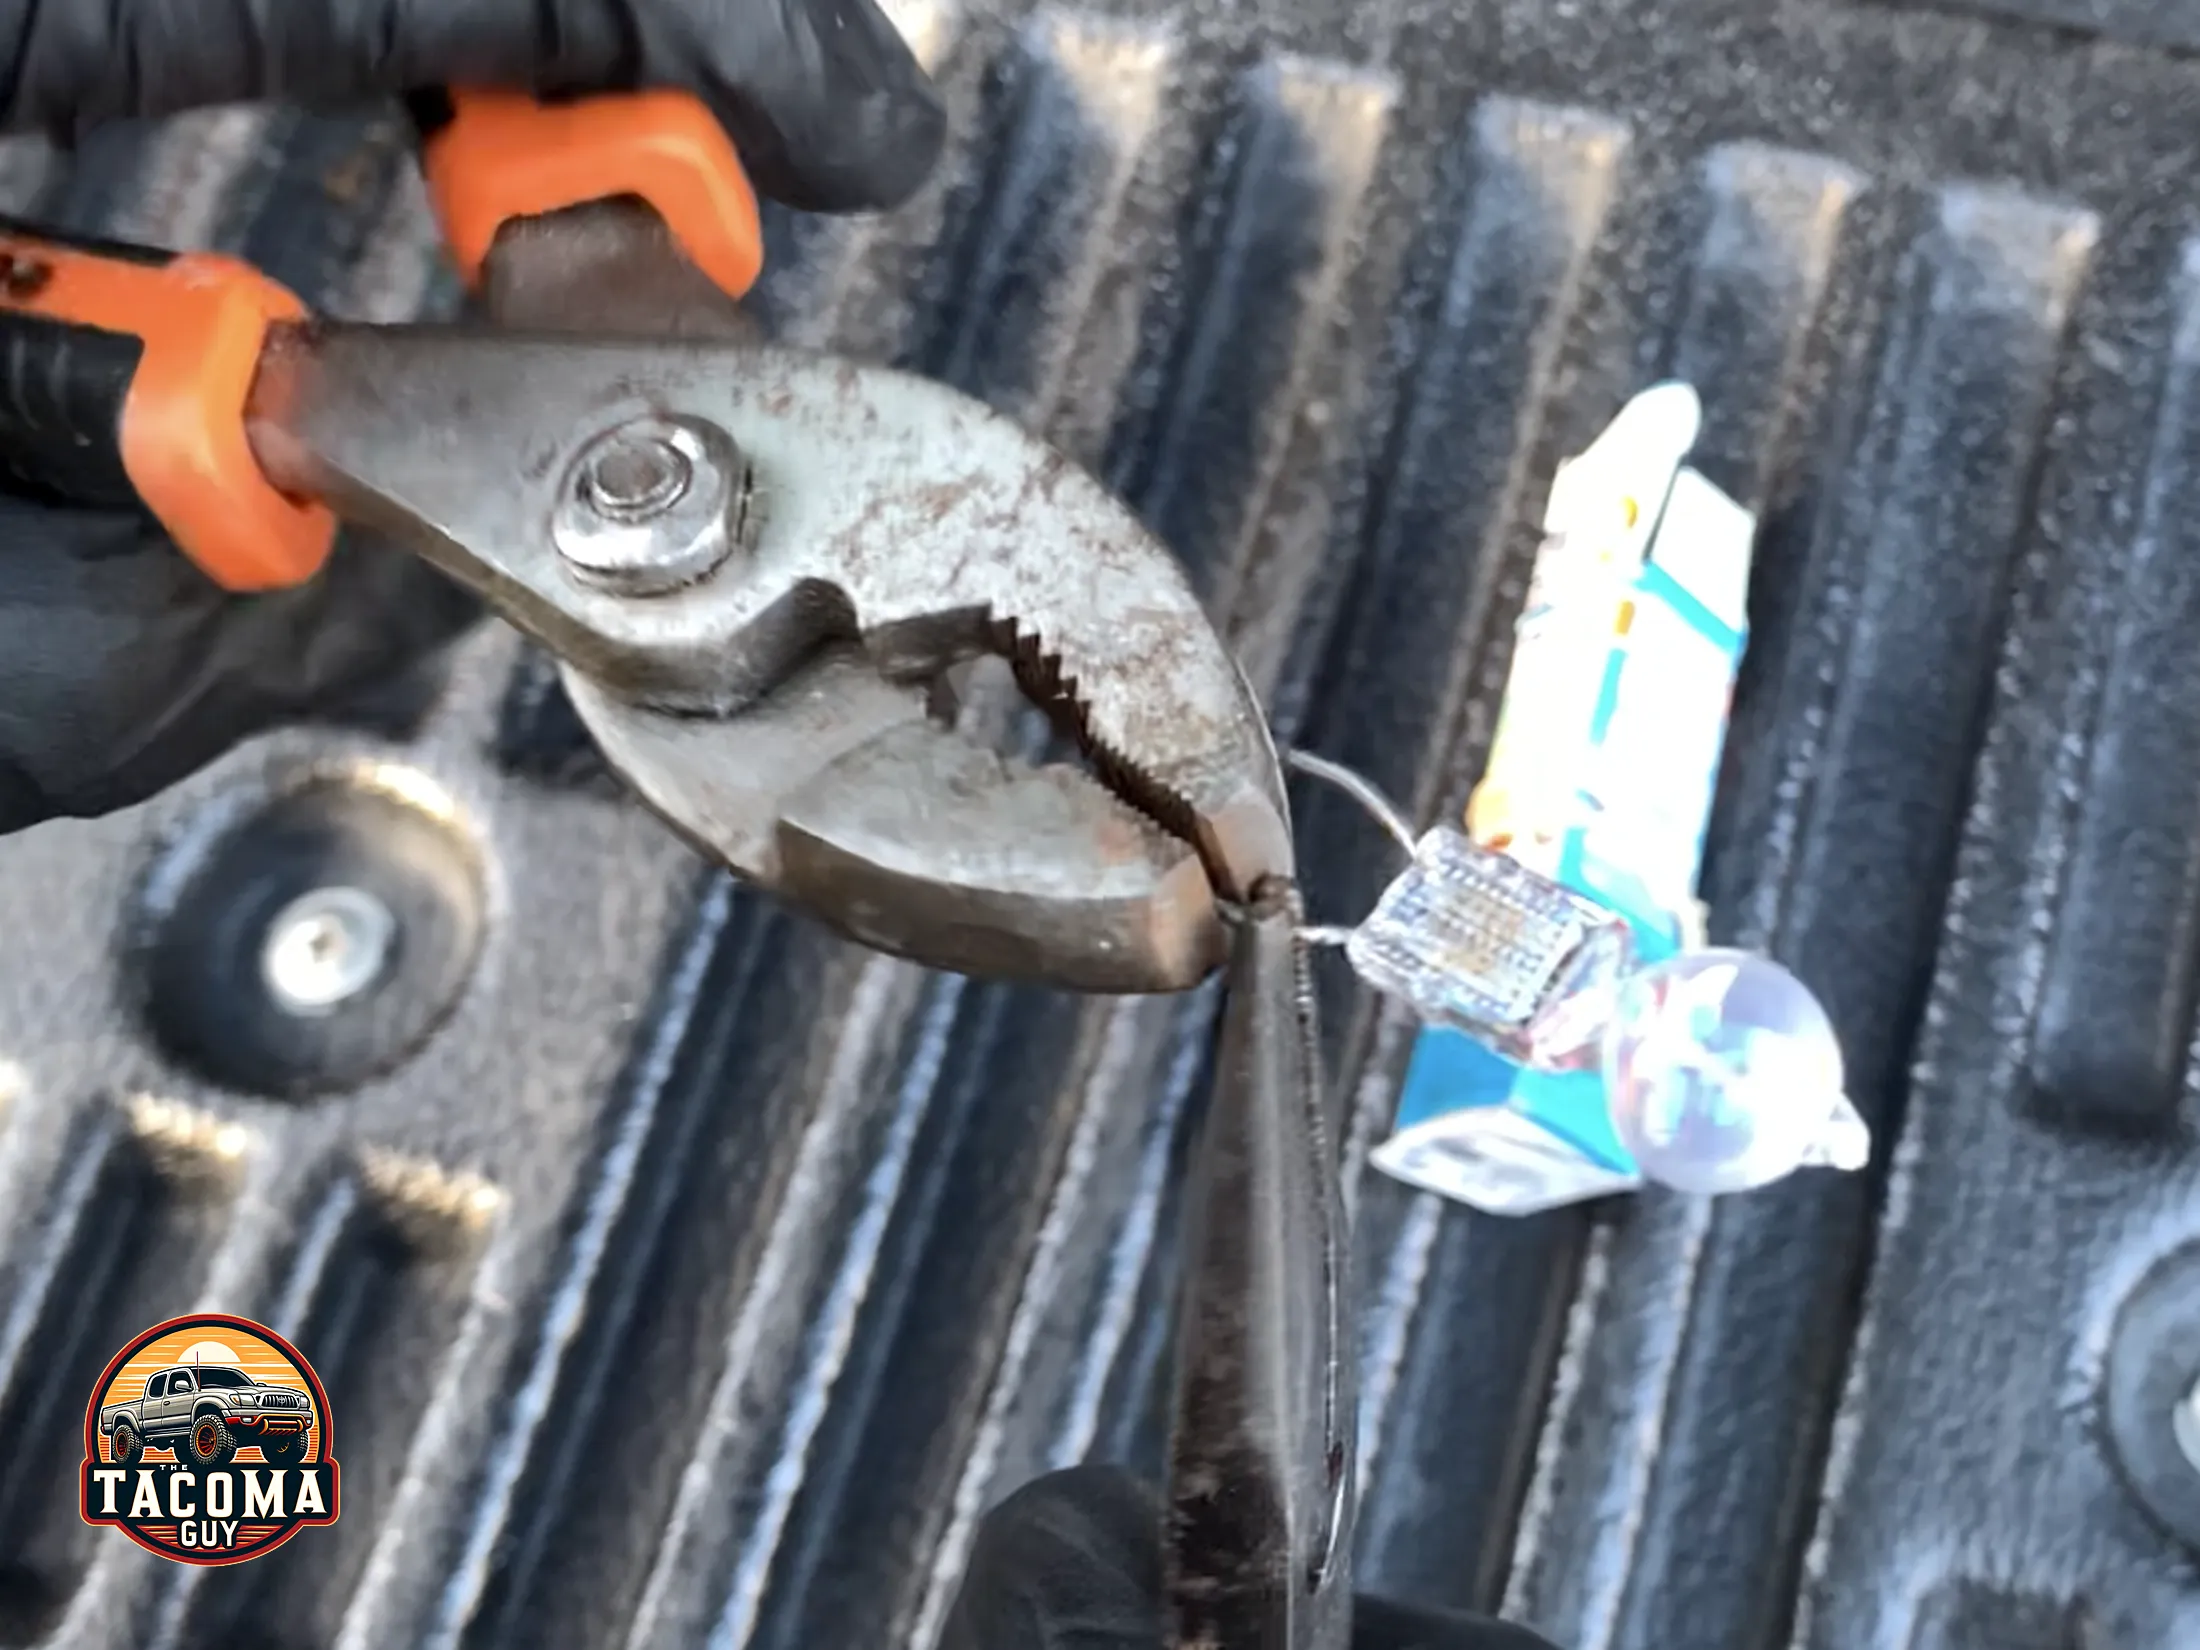
- You’ll need to bend the two metal contact arms to create friction inside the lamp housing on the light. I did that by first pulling the two arms out slightly, then taking the needle nose pliers, i held halfway up one arm, then using the pliers at the bottom, bent the arm at a slight angle.
- Repeat for the other arm.
- Test to see if the bulb will fit. Adjust as necessary until it stays snugly inside the metal contacts in the bulb housing.
- You can also try using a small flathead screwdriver to slightly bend the contacts inwards on the bulb housing, but be very gentle here.
- Once the bulb sits in nicely, seal the light back up.
- Repeat for the other side.
- Get someone to help test the lights by putting the truck in reverse while stepping on the brake pedal.
That’s it! Super easy.