Replacing the fuel filter on a 1995 to 2004 Gen 1 Toyota Tacoma can be a straightforward process if you follow these steps carefully.
Remember, safety is paramount when working on vehicles, especially when dealing with the fuel system so make sure you take some basic precautions before doing this job, because there will be gasoline involved.
You’ll want to replace the fuel filter about every 25,000 miles to ensure you keep your fuel economy high, and the fuel system clean from contaminants to maintain engine performance.
Affiliate notice: The Tacoma Guy is an Amazon Affiliate. That means we get a small percentage from them if you use the links to purchase the product. It doesn’t increase your cost! If you found this tutorial helpful, please consider using these links to help support this mom & pop business, thank you!
Tools and Materials Needed
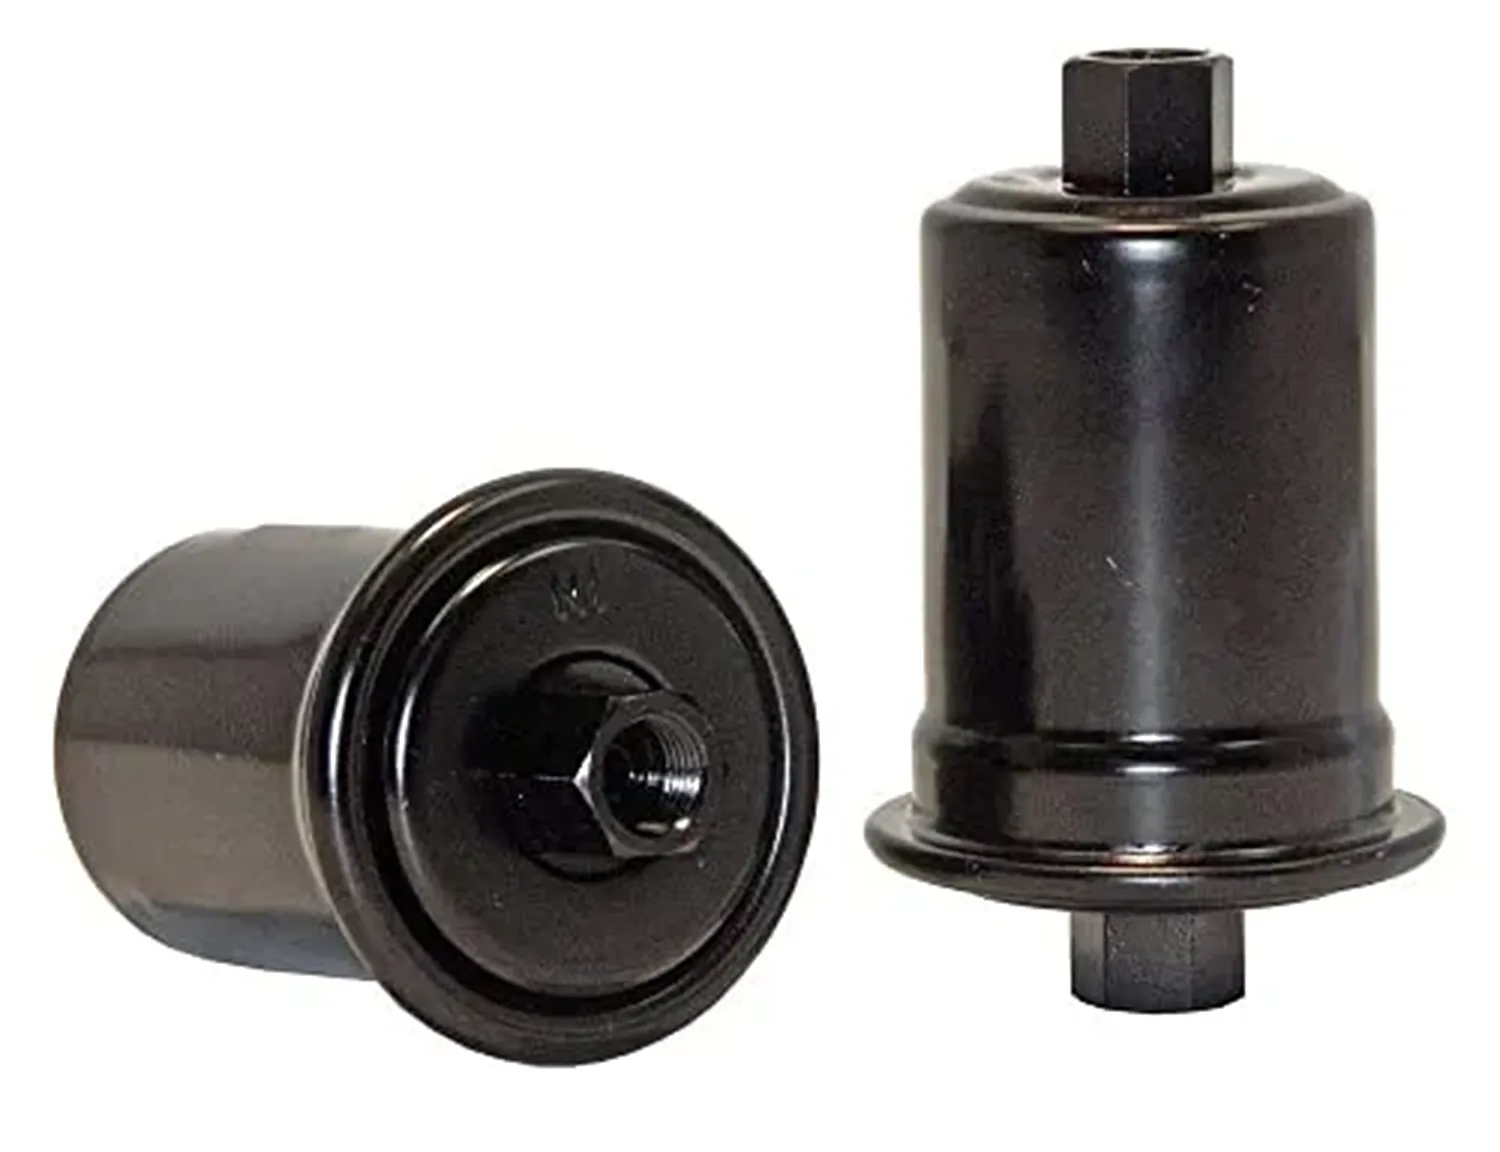
- New fuel filter: The Wix 33319 is considered the best.
- Wrench set: 3/4″ for the fuel filter, 9/16″ for the line fitting. 10mm for the bracket bolt. Flare but wrenches preferred on the fuel line to avoid stripping the bolt.
- Safety glasses
- Disposable Gloves
- Rags or Shop Towels
- Container for catching fuel drips
Steps to Replace the Fuel Filter
Step 1: Prepare the Vehicle
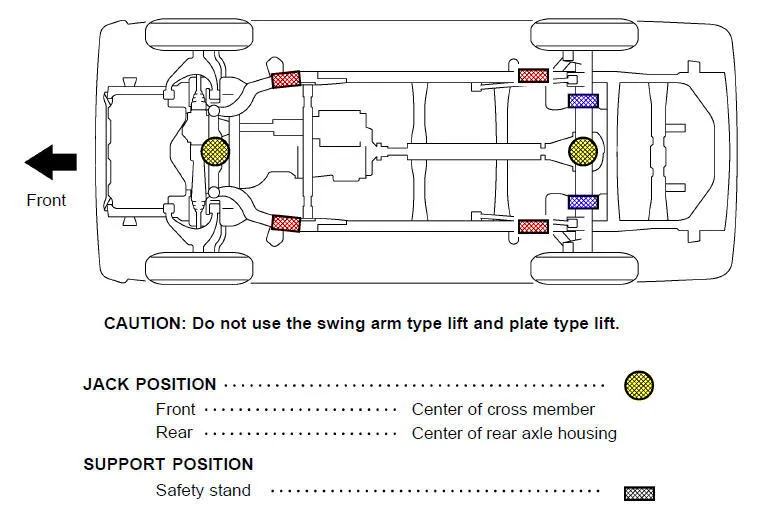
- Ensure Safety: Park the vehicle on a level surface, engage the parking brake, and turn off the engine. Wait until the engine is cool before starting the work.
- Relieve Fuel System Pressure: Loosen the fuel cap to release pressure in the fuel tank.
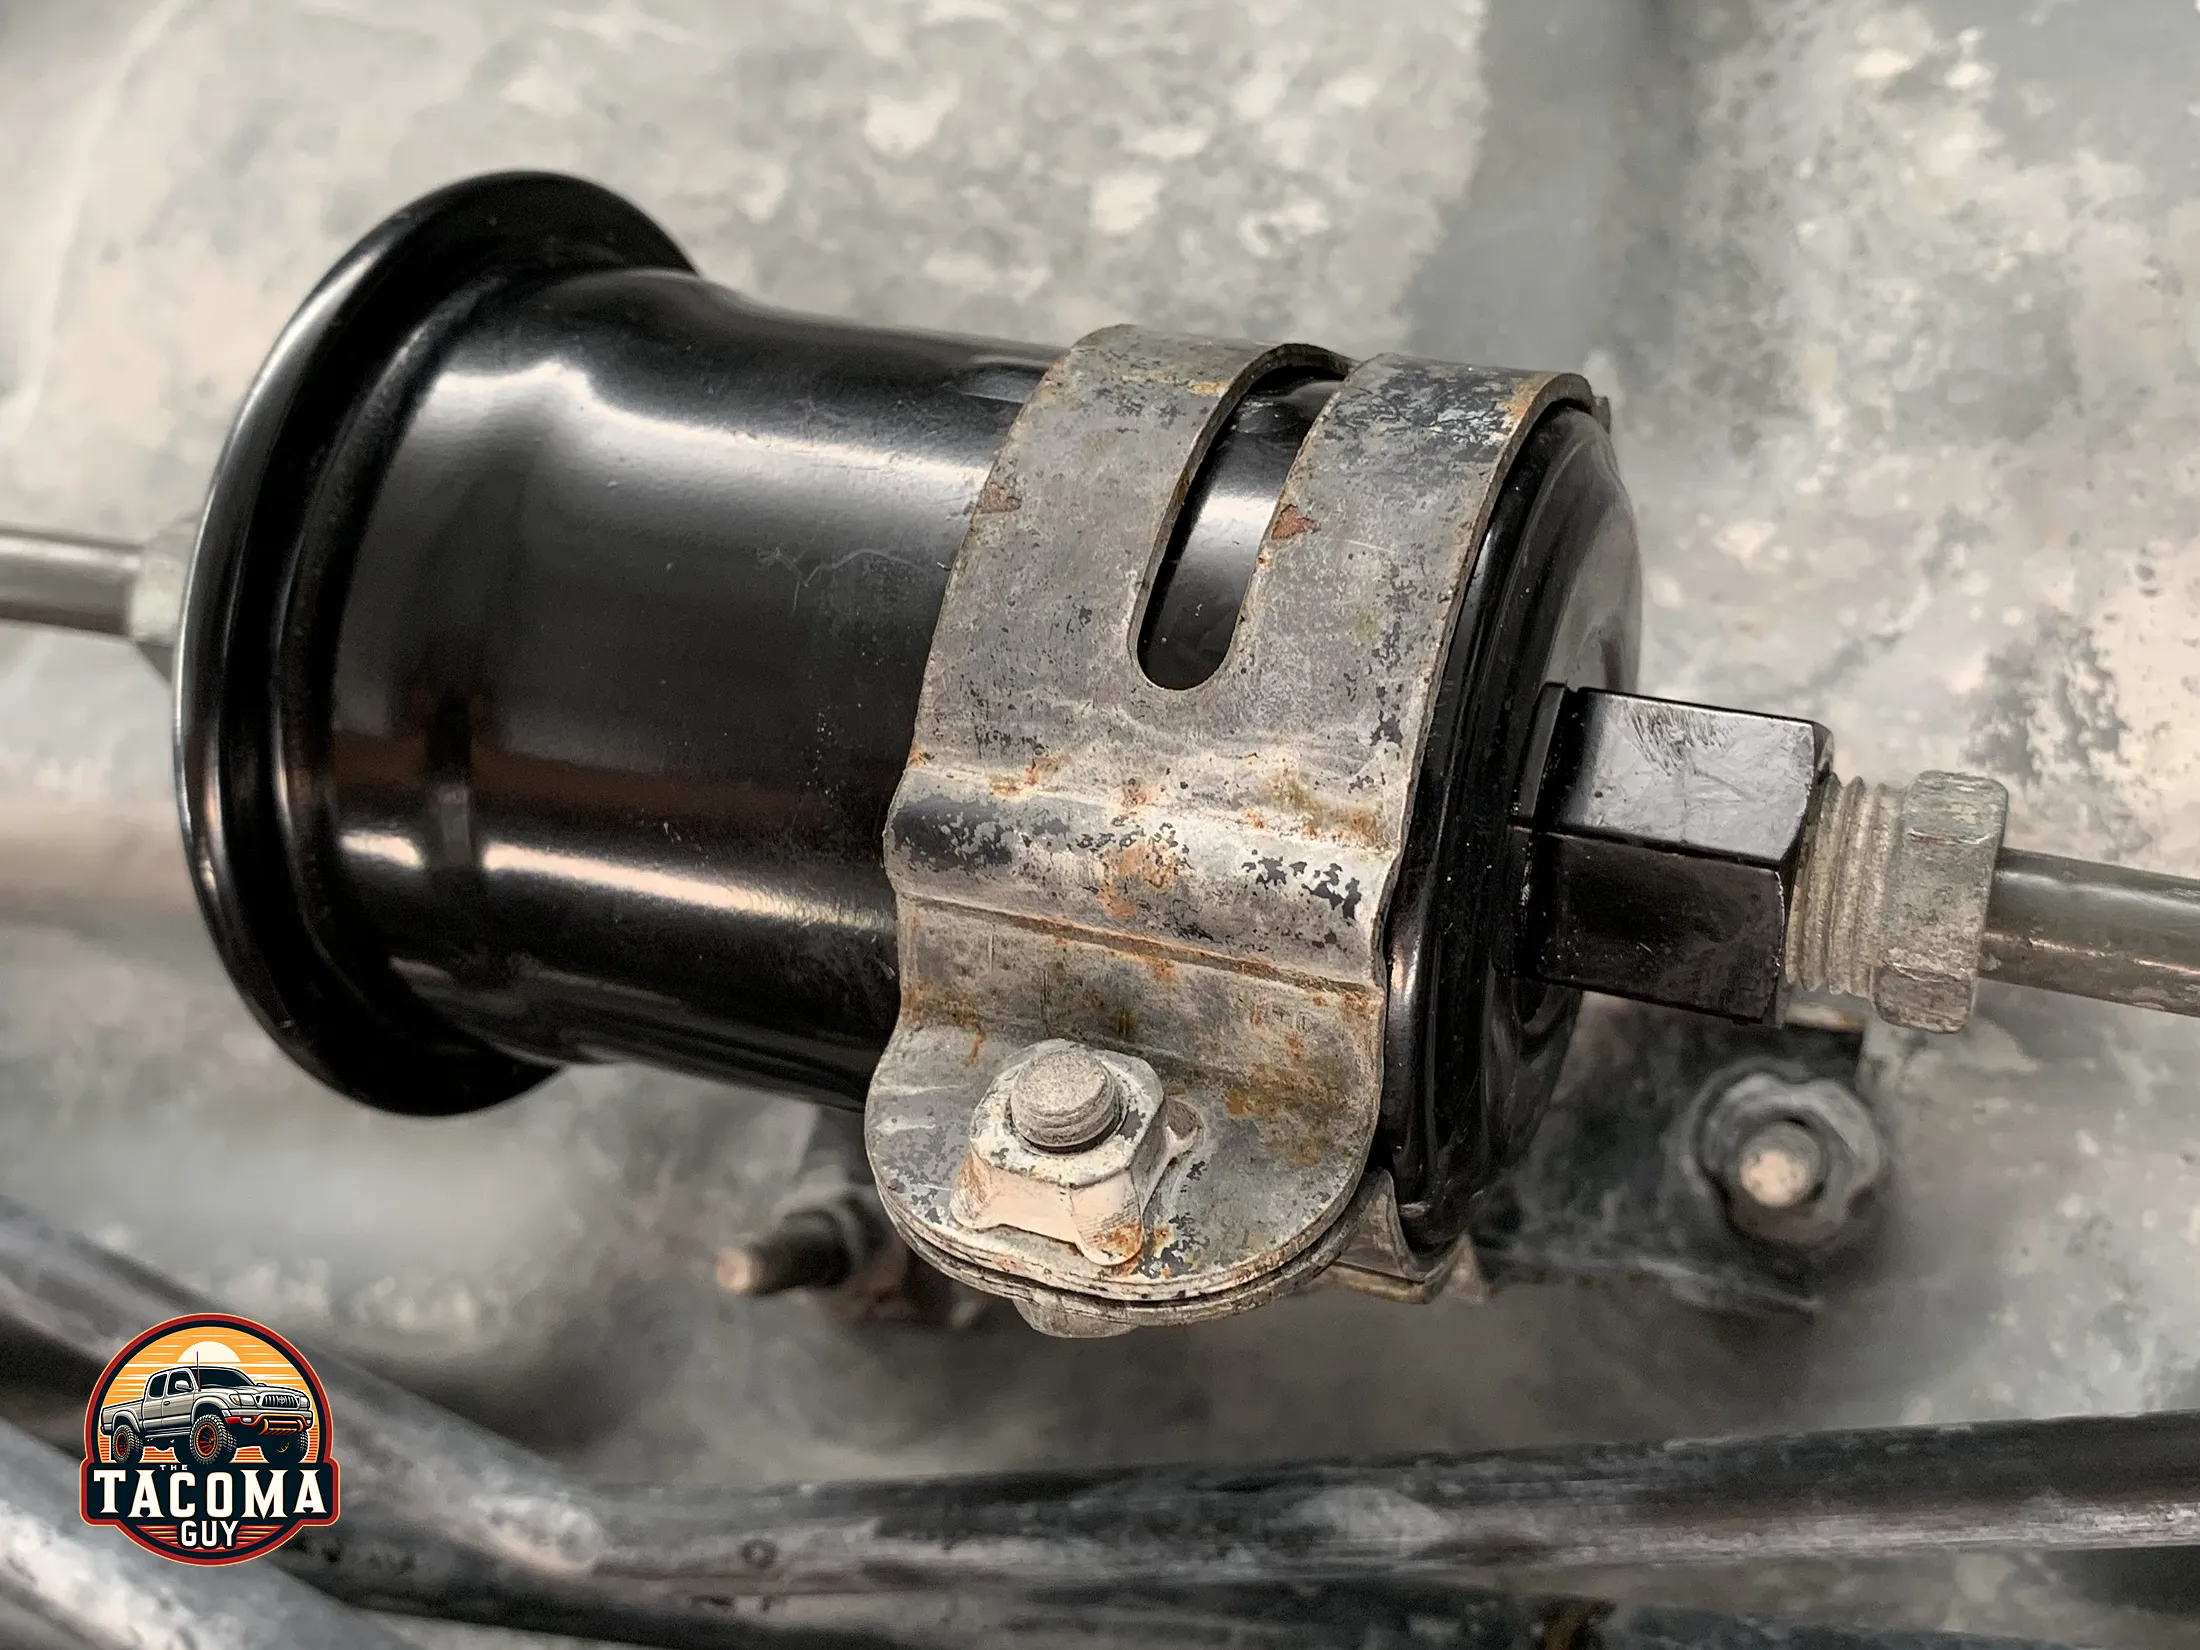
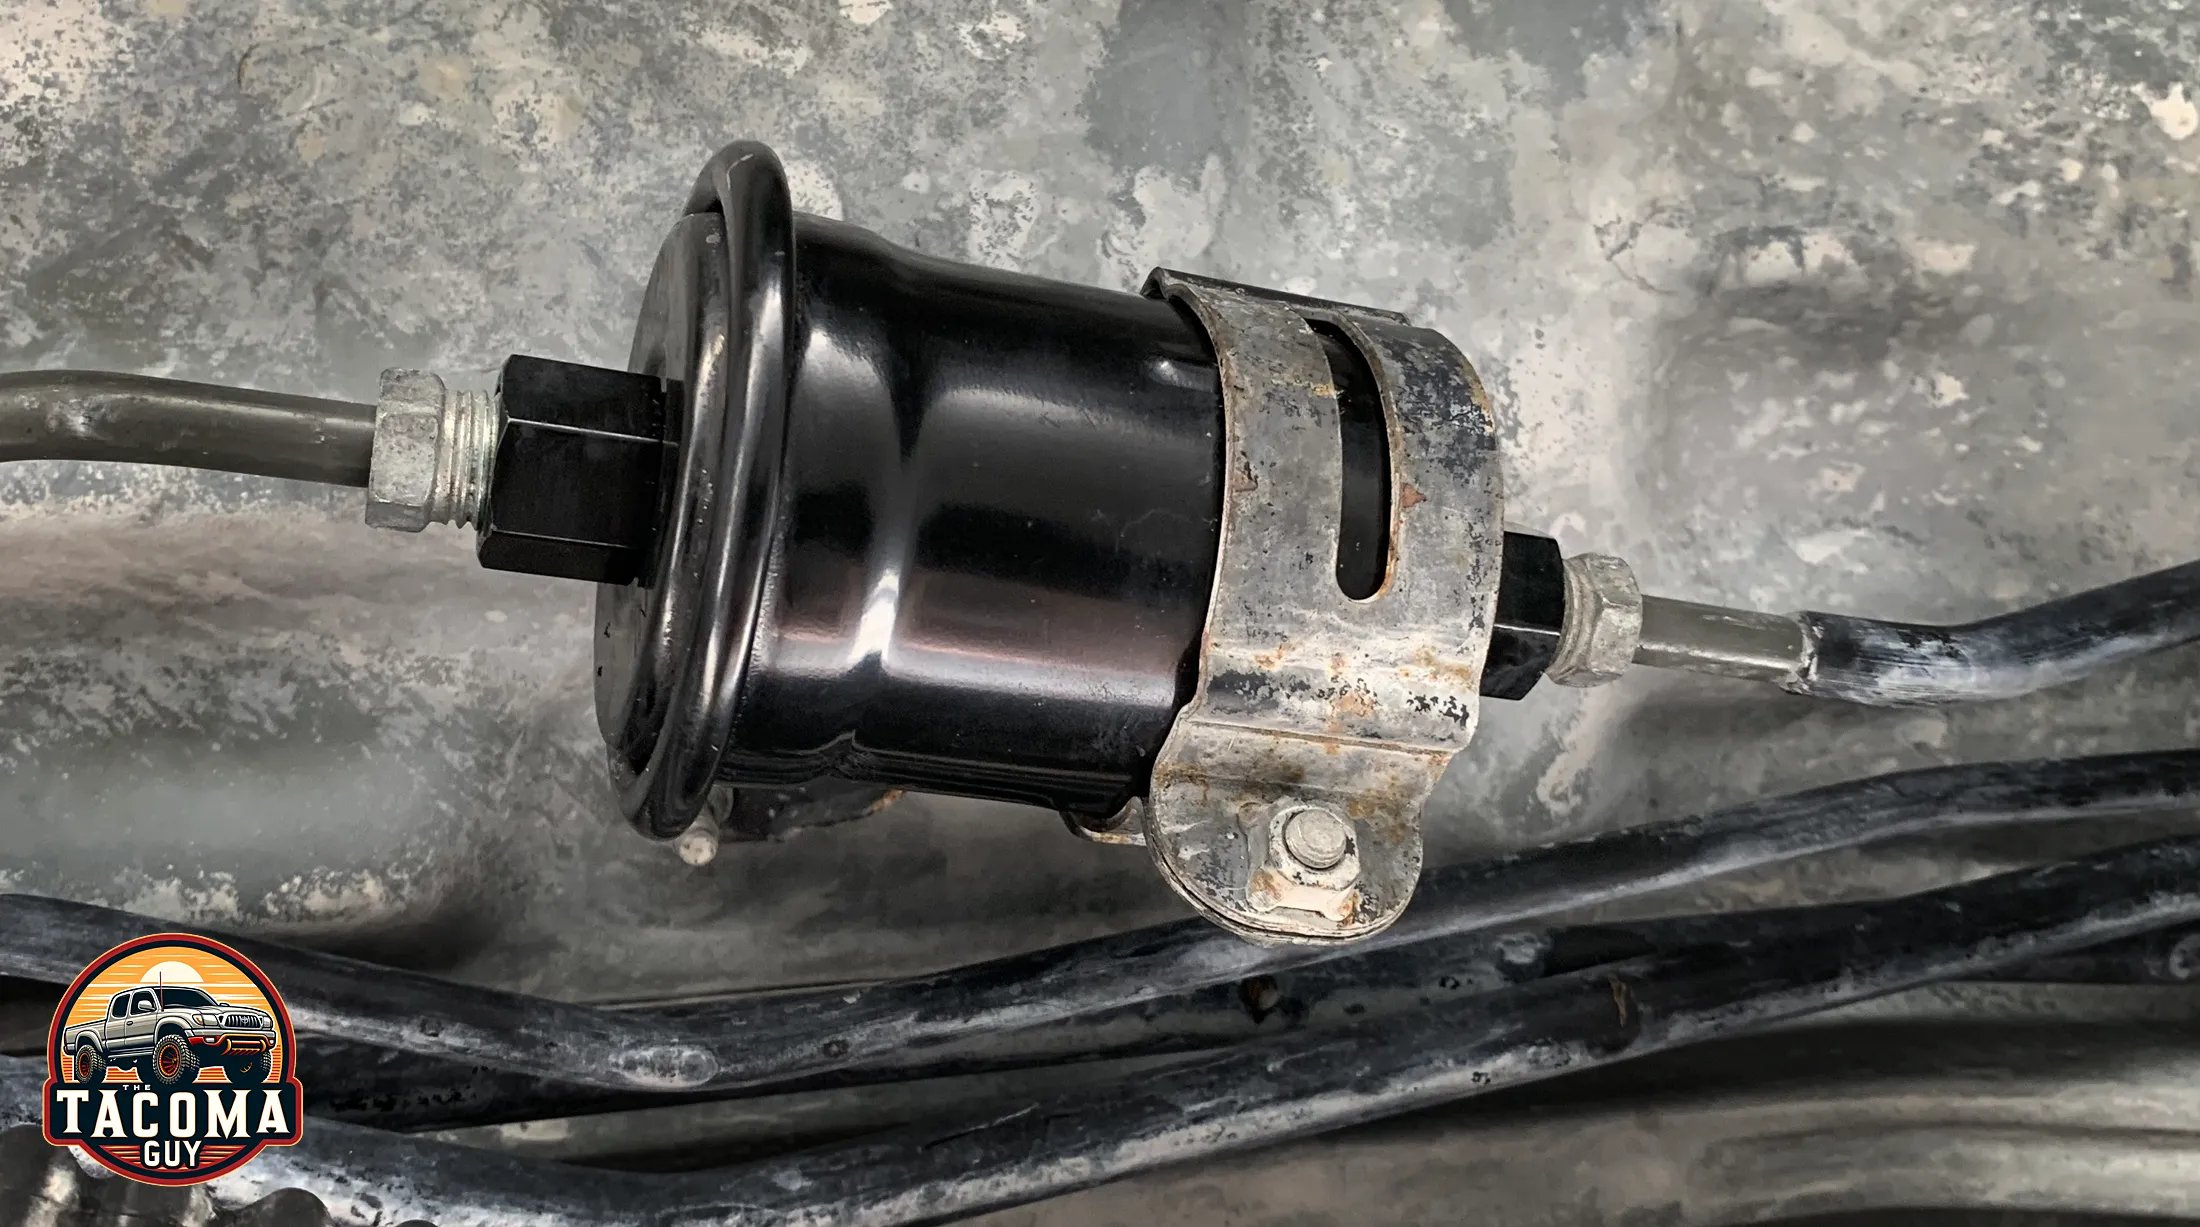
Step 2: Locate the Fuel Filter
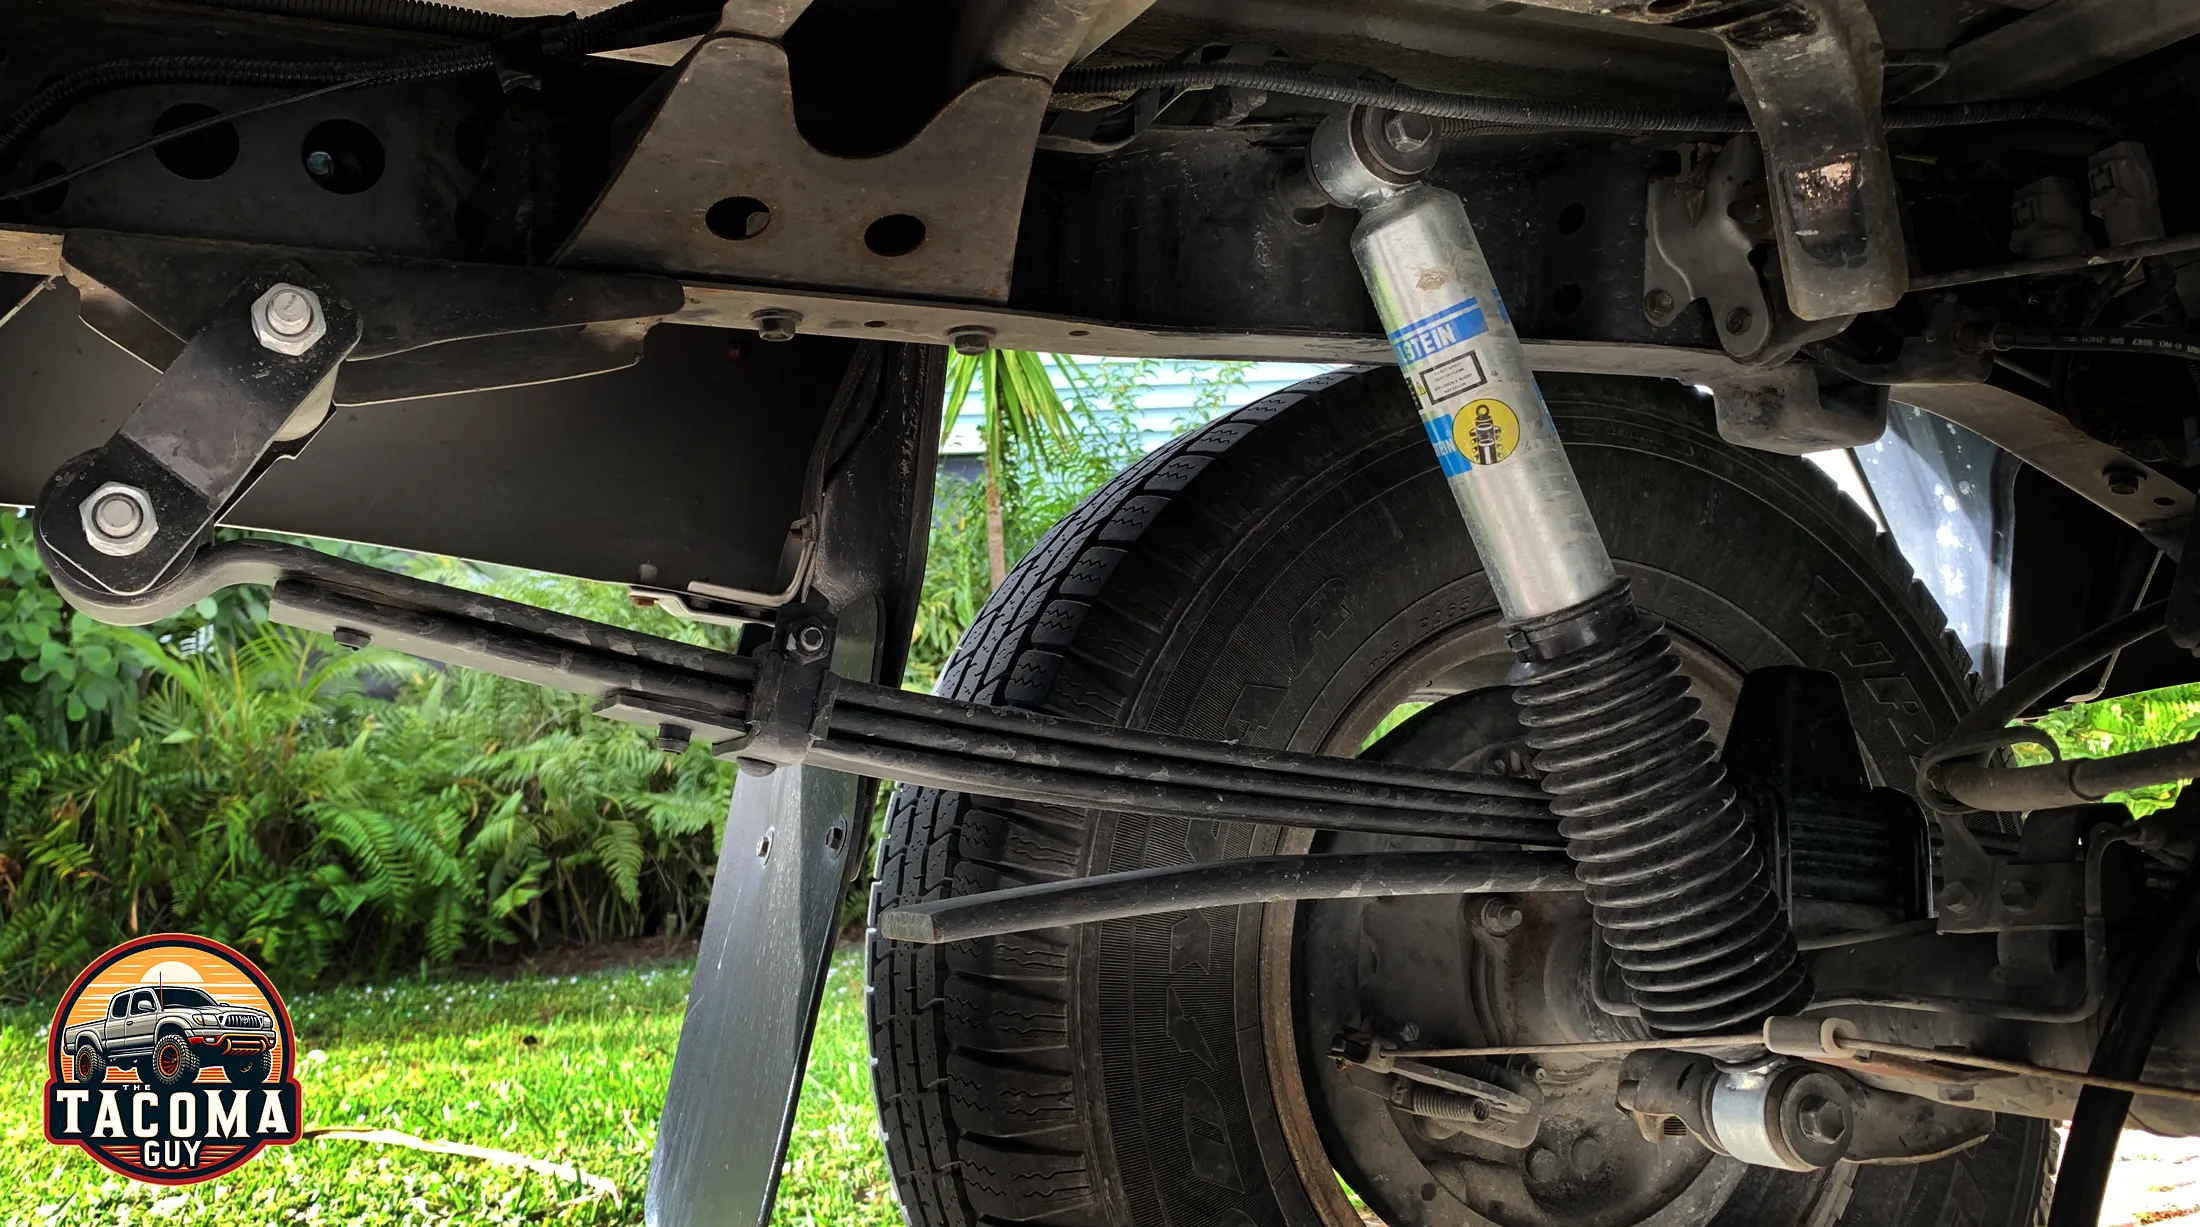
- The fuel filter is typically located along the frame rail underneath the vehicle under the drivers side door. No need to lift the vehicle, it’s generally easy enough to get underneath without if you are working on a 4wd or Prerunner. 2wd you might want the space.
Step 3: Depressurize the Fuel System
- To avoid fuel spray, depressurize the system by removing the fuel pump relay fuse, which is in the engine bay fuse box. It is labeled “EFI”.
- Start the engine and it run until it stalls due to lack of fuel. This will help to depressurize the fuel system and keep the mess to a minimum, but you will leak some gas, so make sure you have a drip pan or something underneath to protect your driveway or flooring.
Step 4: Remove the Old Fuel Filter
- Disconnect the Fuel Lines: Use wrenches to disconnect the fuel lines from the filter. Be prepared for some fuel to spill out; use a container to catch it. Put the 3/4″ on the fuel filter to hold it in place, and the 9/16″ for the fuel line. It will likely be tight.
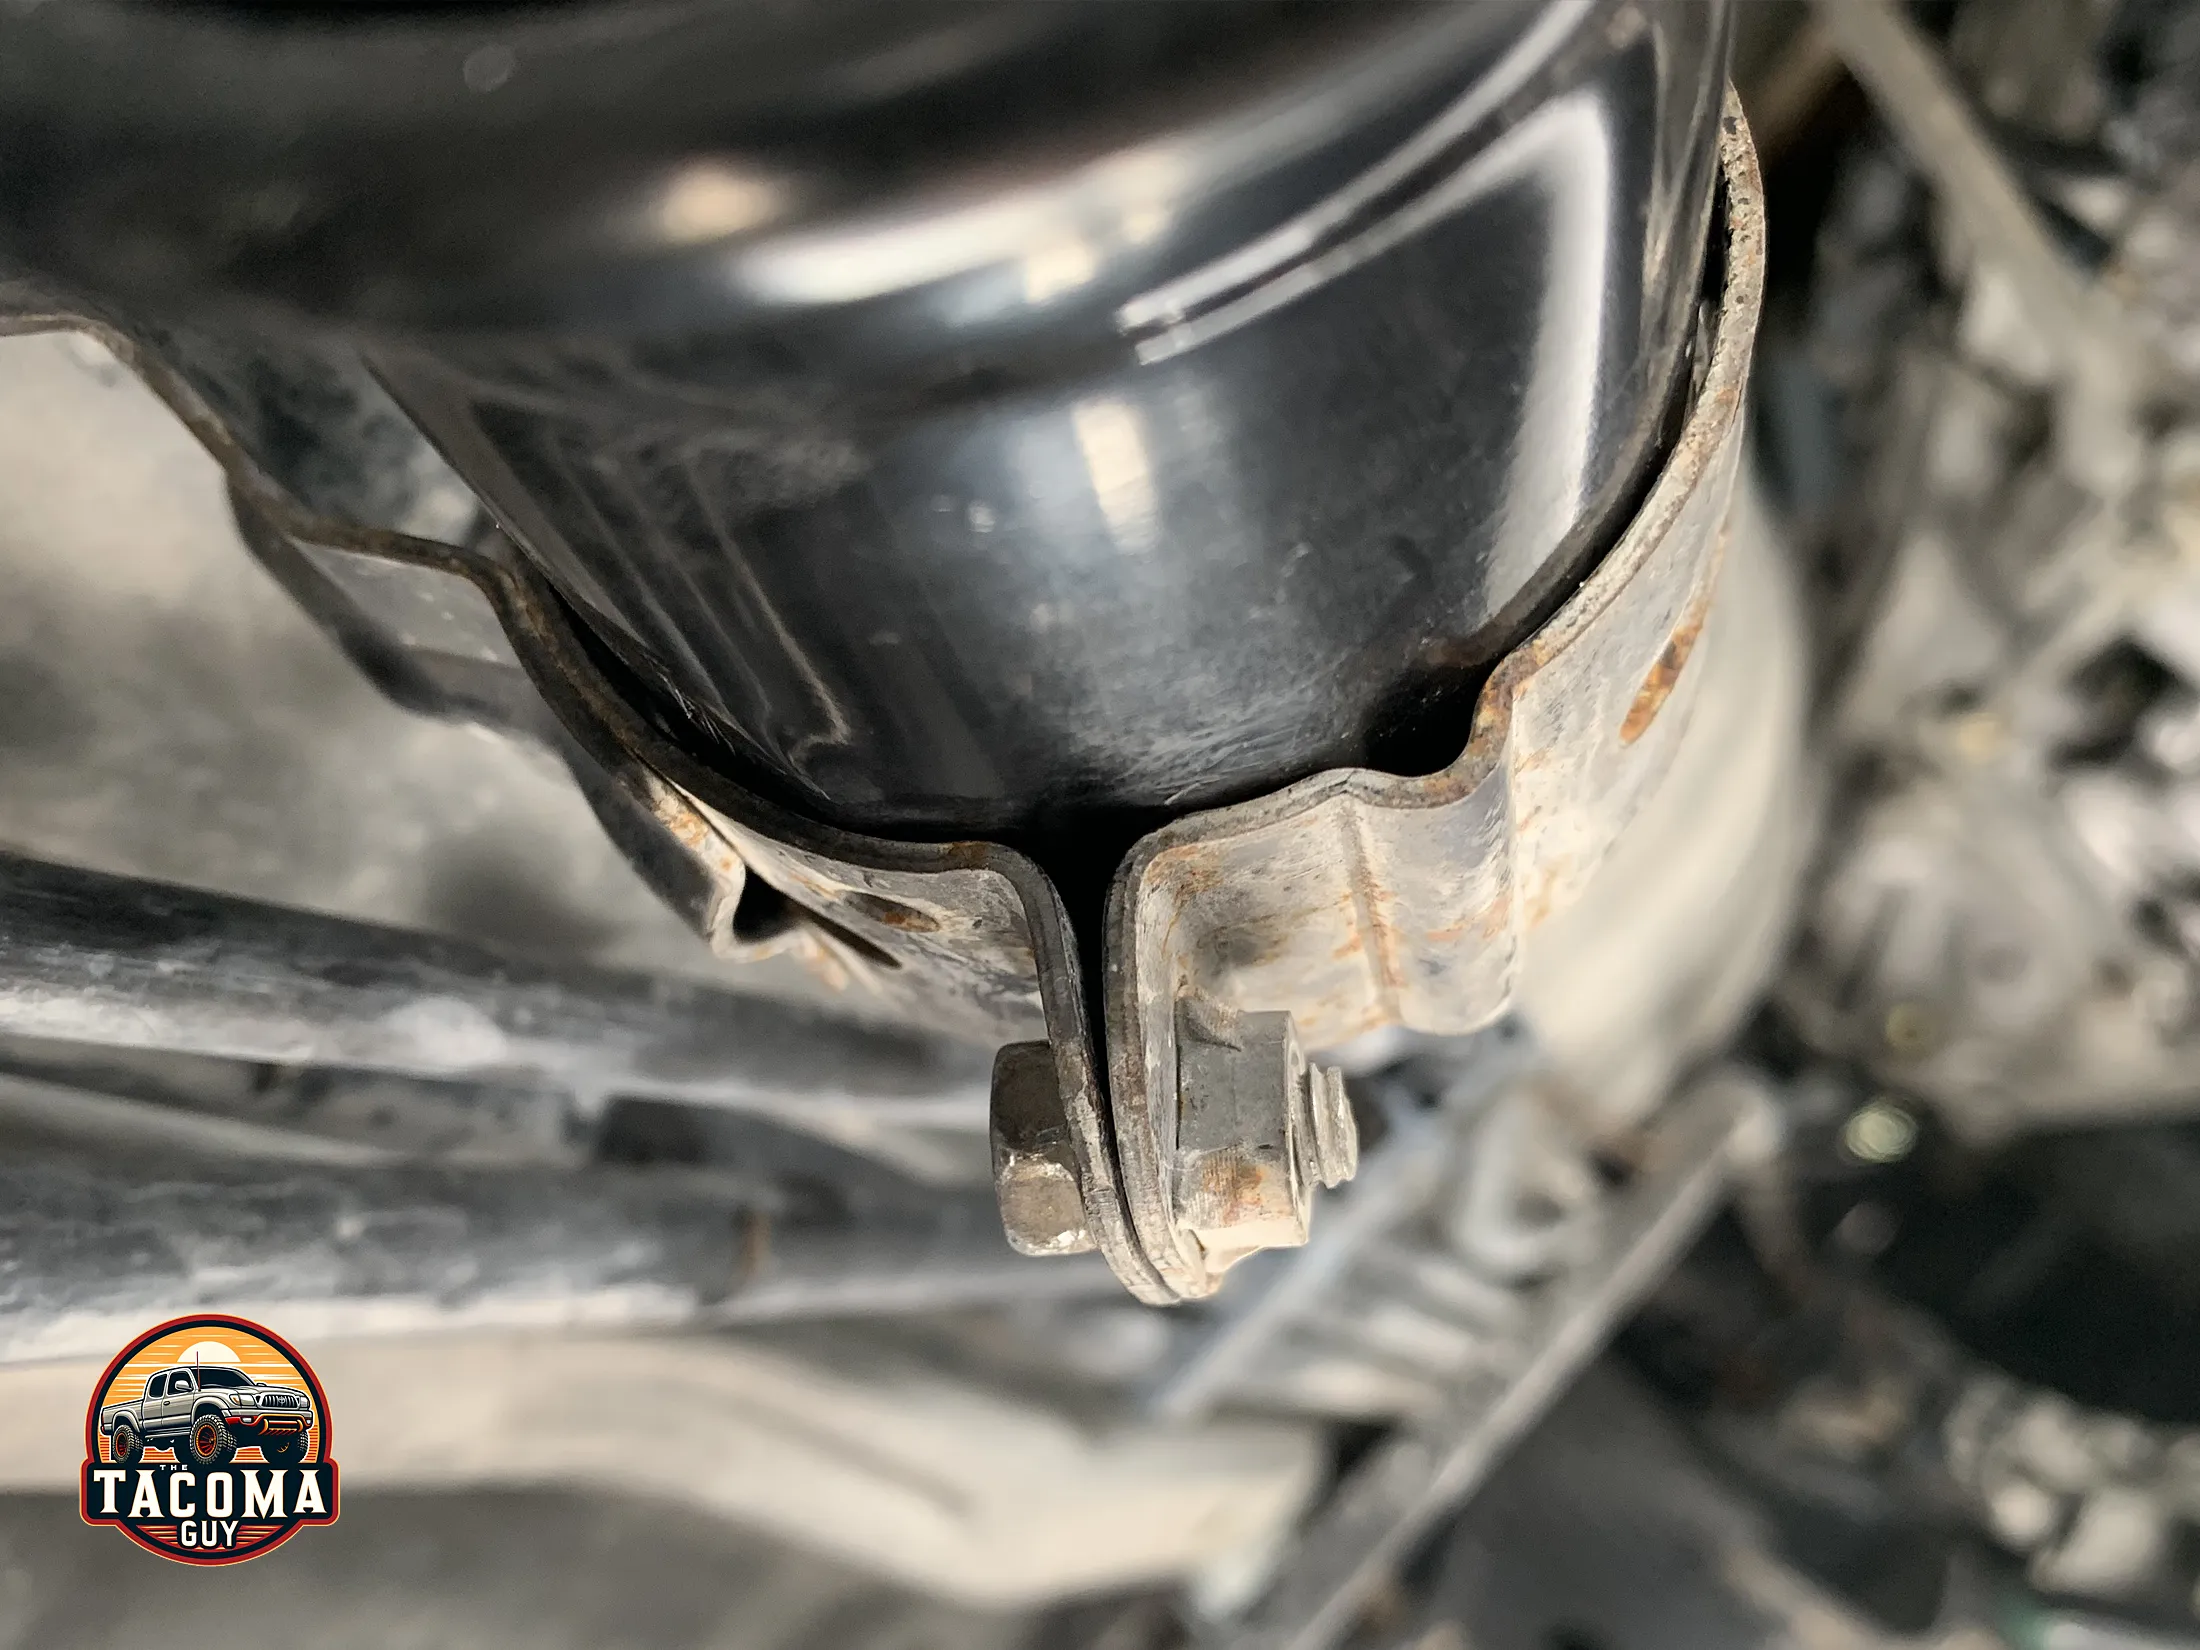
- Remove the Filter: Unscrew the fuel filter bolt from the mounting bracket with a 10mm wrench. Open up the clamp wide enough to pull the filter out. You will have to pull (flex) on the fuel lines to get it out of the filter, because the lines stick in about a half inch into the filter. Gas will be spilling out of the filter!
Step 5: Install the New Fuel Filter
- Check the New Filter: Ensure the new filter is identical to the old one.
- Mount the New Filter: Position the new filter the same way the old one was installed. Filters usually have an arrow indicating the direction of fuel flow. Make sure it points towards the engine.
- Secure the Fuel Lines: Reattach and tighten the fuel lines to the new filter. It can be a bit tricky getting the fuel lines back in. Take your time so you don’t damage the fuel lines. Install one side, and tighten the fitting in place to allow you more room to get the other side in. Then tighten fully to hand tight, don’t go nuts.
- Secure the Bracket: You can use interlocking pliers to help clamp the bracket down so you can get the bolt back into place before tightening.
Step 6: Check for Leaks
- Re-pressurize the System: Replace the fuel pump EFI relay fuse. Turn the key on and off a couple of times to build up the pressure.
- Start the Engine: Turn on the engine. It might take a moment longer than usual this first time to turn over, remember, there’s only a little gas in there.
Step 7: Finalize
- Double-Check Everything: Ensure all fittings are tight and the filter is securely mounted. Check around the filter for leaks.
- Clean Up: Dispose of the old filter properly and clean up any spilled fuel.
Additional Tips
- Safety First: Always wear safety glasses and gloves when working with fuel.
- Consult the Manual: Refer to the vehicle’s manual for specific details or instructions.
- Take Your Time: Be patient and careful when removing and attaching fuel lines to avoid damage.
The other way to do this:
I’ve seen people skip the EFI removal, and just open the gas cap. I’ve done it this way, and dumped gas all over the place. I think removing the fuel from the system first is the way to go!